
Toddler Reach-in Closet Makeover

Closets are one of my favorite types of projects to take on. As Evie grows into a proper toddler, I’ve been playing with the idea of readjusting her closet to make sense for her age. Over the past year, I’ve realized that we utilize folding storage much more than hanging, which led me to believe that we need to emphasize clothing storage that she can access and keep the footprint practical for her age.
As she begins to want to dress herself, I want her to be able to do so. With the new layout, she has access to everything she needs to get dressed, including shirts, pants, socks, etc. The more she learns where things belong, the more familiar she will be with where things go. The new system is more practical for her, but it’s also much more aesthetically pleasing. Since we ditched the builder-grade mirrored closet doors, this reach-in style closet is assessable from all angles. This means clothing or shoes no longer get stuck in places or lost.
toddler closet system
I started by clearing everything out of the closet. Then, based on my mood board, I knew I wanted to add wallpaper to the central part of the wall. With this in mind, I started to skim coat the walls to remove the texture and give the wallpaper a clean slate. Three coats of joint compound later, the walls were ready for primer and paint. Finally, I painted the entire closet with a fresh coat of white paint after priming.
I then waited for both the paint and primer to dry completely. When the color doesn’t get completely dry, and then you apply wallpaper, you risk pulling up both the paint and primer. But, it’s a simple step that is a must when using wallpaper! As for the type of wallpaper, I went with a floral palm stripe from Spoonflower in the color tan. The wallpaper has a lovely texture that compliments the other finishes in her room and closet.


Toddler Closet Storage Solutions
We used her dresser as the focal point for the closet’s storage portion. It transitioned from a changing table to a kid’s dresser and has held up well over the years. My dad then made custom shelves to flank either side of the dresser. If you don’t want to dive into any woodworking for this project, you could easily purchase a 3-cube organizer in a similar style. I then had my dad add trim to the surrounding sides to make all three pieces look more like a cohesive built-in. I love the overall look, and it does look like it’s a solid unit.
I found a light wood panel (MDF) in the as-is section at IKEA for the top. It was the perfect shade of wood. I cut it down to fit the width of the space, and it ties the entire look together.
The side organizers are kept orderly using the coil-rope bins I previously used in her room. I use a file-folding technique to keep everything within its cubby and readily available for busy school mornings. The two larger rattan bins at the top were also found in the as-is section at IKEA. I’m guessing they were used as displays because I couldn’t find any other issues other than a slight imperfection on the bottom!
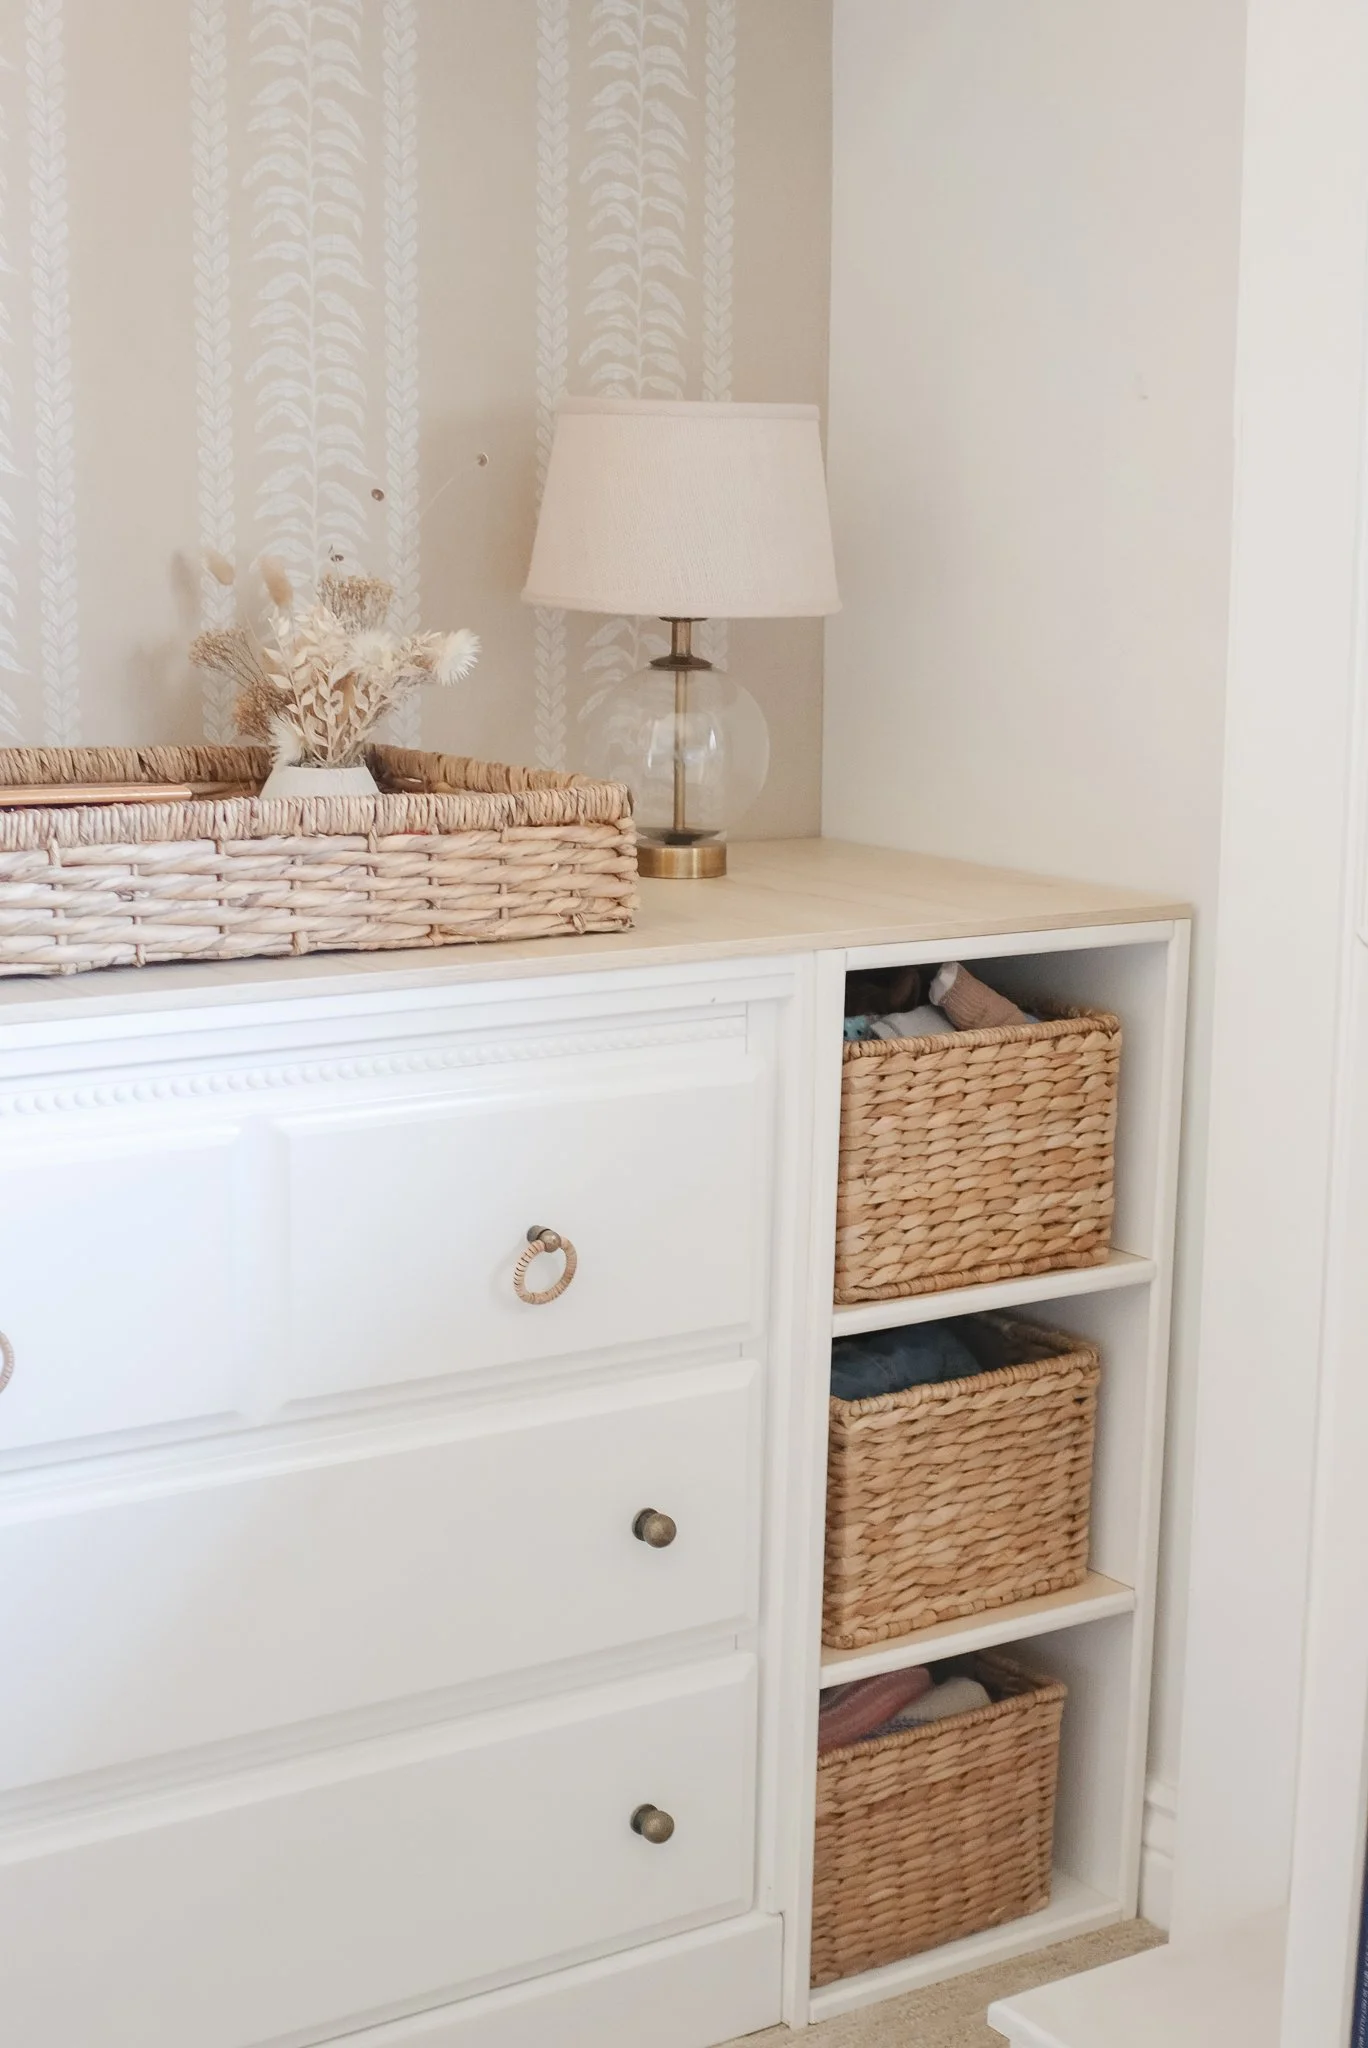


The final touches were light styling and choosing a few pieces (mainly dresses and jackets) to hang on the curtain rod. Instead of leaving the rod white, I spray-painted it antique gold for a metallic pop. It was a very affordable solution and ended up looking great! The rattan table lamp and sizeable woven tray are from Target and incredible buys for the price! I arranged her accessories inside the tray, including sunglasses, costume jewelry, and a few other knick-knacks.
This post contains affiliate links. If you use these links to buy something we may earn a commission. Thank you for your support!


