
ONE ROOM CHALLENGE WEEK 3: How to Paint a Brick Fireplace

We are halfway through the Fall ORC, and today’s post is a bright transformation! Painting the fireplace is something we knew we wanted to do well before we moved in. I’m not a huge fan of brick, and painting the fireplace white was an inexpensive fix that would hold us over until we find the perfect tile. At first, we dabbled with white-washing the brick, but ultimately I felt that painting them completely white would be the most transformative. Scroll down to see the before and after transformation.

The One Room Challenge is hosted twice a year in spring and again in Fall and run for 6-weeks. I’m thrilled to be participating as a guest, and I look forward to starting this challenge and connecting with fellow bloggers! I’ll be posting each week to share our dining space's on-going progress while highlighting our weekly to-do list (more on that below)!

HOW-TO: Paint a Brick Fireplace
Before jumping into any painting project, I always source inspiration. This gives me an idea of what I’d like the outcome to look like, even if it doesn’t look exactly like the images I aspire to. This is our first home and my first attempt at painting a brick fireplace. I read and watched many tutorials and came up with a game plan to get the job done. The first thing in this project was to scrub and clean the brick completely. This is a crucial step and one that should be completed before any painting is done. I used a mild degreaser and warm water to scrub the brick clean.
From here, let the brick completely dry before starting to prep the room for paint. Sweep and clean any debris that may have fallen during the cleaning process. As I had previously mentioned, we toyed with the idea of white-washing the brick, but ultimately I felt that we needed to remove this red-tone from the room. I think there’s a fine line between coastal decor and farmhouse, and I wanted to ensure the space continued on the roadmap we had previously planned. I let the brick dry for 24+ hours and then began taping off the glass fireplace doors.
Depending on the size of your brick, you’ll need to purchase a few different brushes. Since this was my first attempt, I picked up three different sizes, one for the mortar between the brick, another for the fine details (crevices in the brick), and finally, a small sponge roller. I found it much easier to start with priming the mortar with the stiff 1” brush before jumping in with the roller. I found it especially important to purchase high-quality brushes. Cheap paintbrushes shed and can leave behind unwanted bristles. We primed 2-coats of Kilz Orginal Primer to achieve even coverage, letting each coat dry completely (24+ hrs).
While our fireplace isn’t operational, it is essential to prime thoroughly, especially if you live in a humid climate. Failing to prime before you paint can cause brown/orange spots to emerge through your paint. After priming evenly, I jumped in with white masonry paint, following the same painting steps as I did the primer.
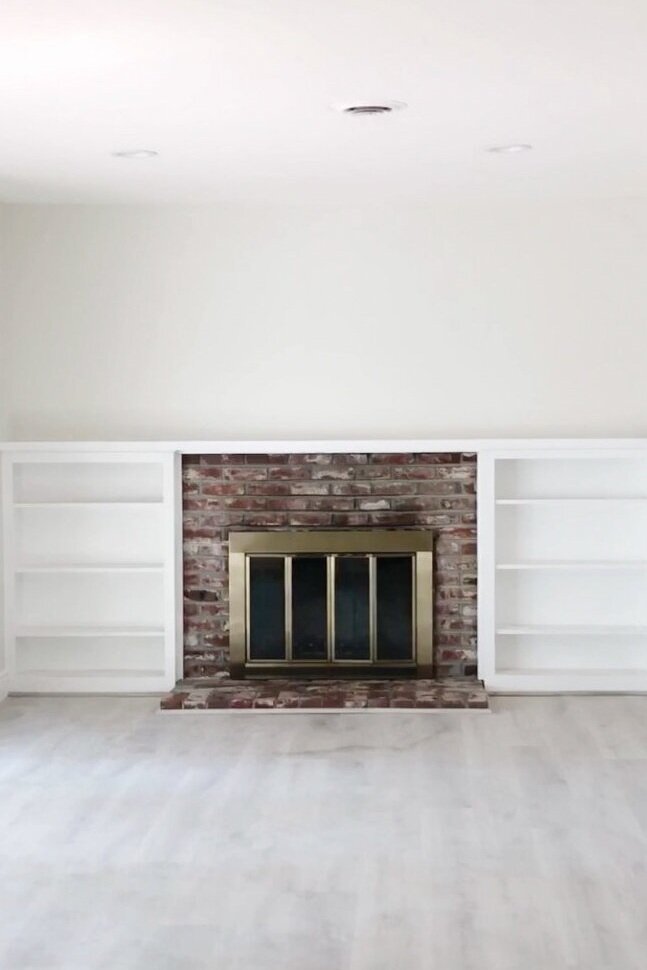
BEFORE
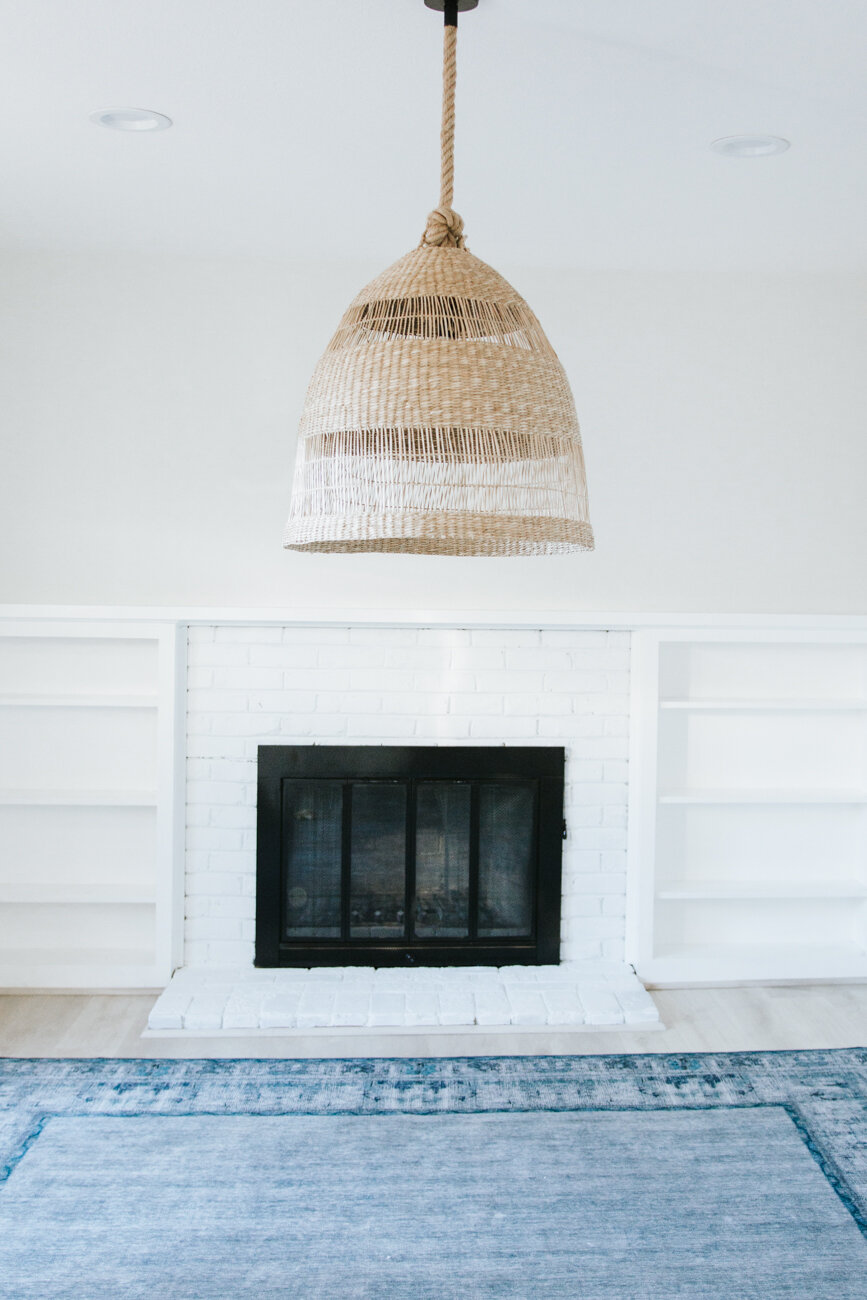
AFTER

ONE ROOM CHALLENGE Weekly Schedule
WEEK 1 - B̶e̶f̶o̶r̶e̶ ̶I̶m̶a̶g̶e̶s̶ ̶a̶n̶d̶ ̶G̶a̶m̶e̶ ̶P̶l̶a̶n̶ ̶f̶o̶r̶ ̶O̶R̶C̶
WEEK 3 - Fireplace Paint DIY (today)
WEEK 4 - Mantle Redo & Tips for Shelf Styling
WEEK 5 - DIY Custom Frames & Wallpaper
WEEK 6 - FINAL Reveal!!
Check back next week for our next project in this space, the mantle!
Cheers ~
Kelly


